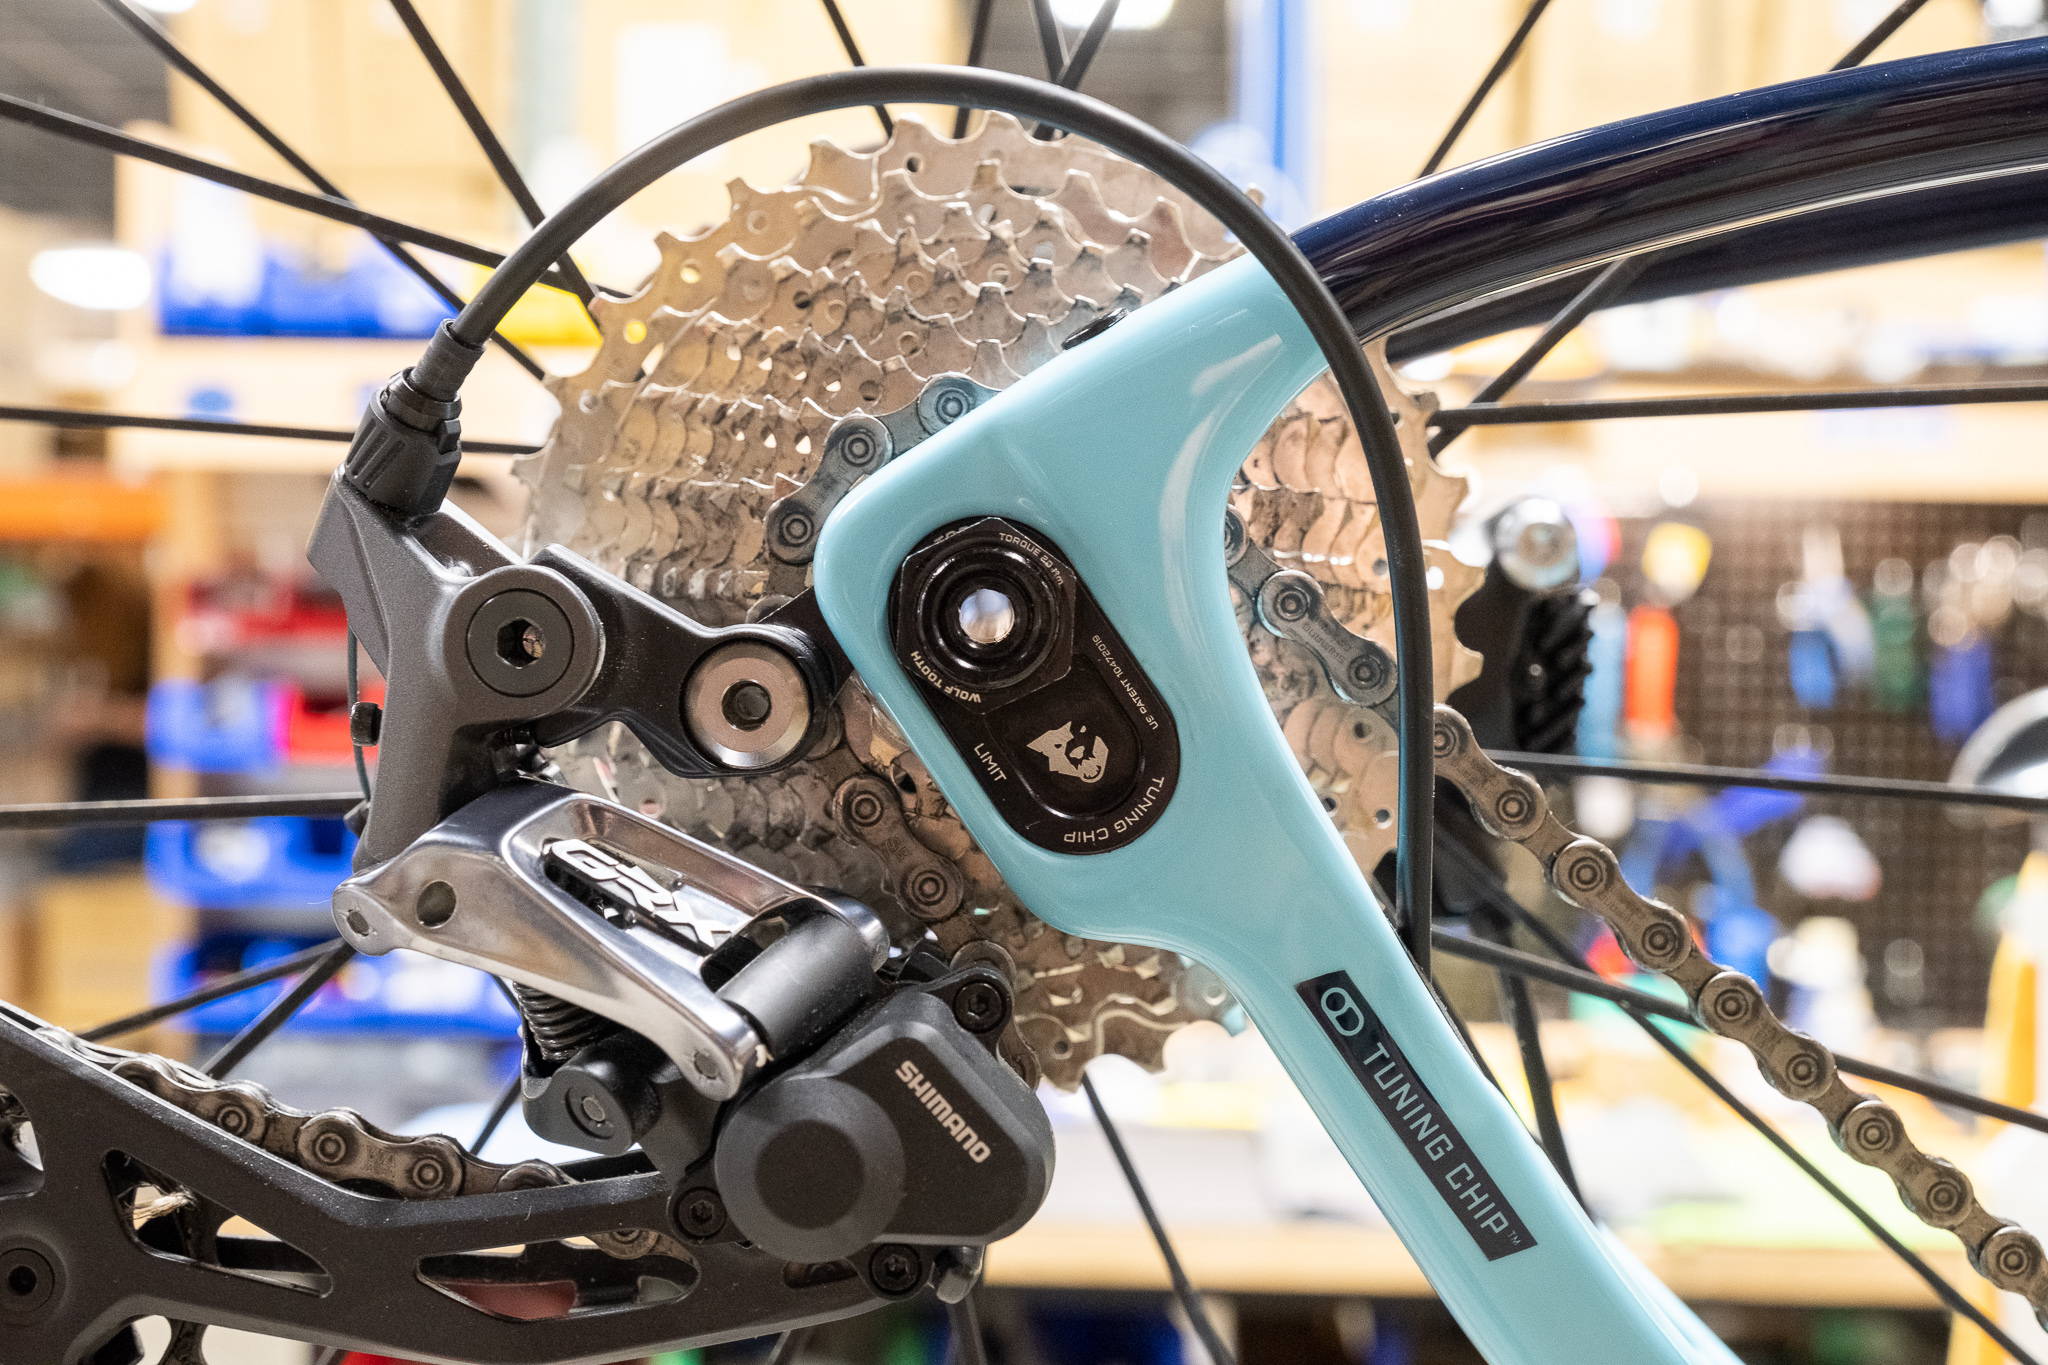
What is the Tuning Chip, and what does it do?
Our patented Tuning Chip rear dropout system is found on all bike platforms in our collection, and adds an element of versatility to any Otso Cycles bicycle purchase that can make your bike feel like three different machines.
The Tuning Chip has three different positions, and each position gives each of the bicycles in our lineup a different riding experience. You can adjust your wheelbase by as much as 20mm, and your bottom bracket height by as much as 4mm. In the rear position, you’ll find more stability and comfort and a lower bottom bracket height, as well as have maximum clearance for larger tire sizes. Switch to the front position to get more agile handling and responsiveness, as well as a higher bottom bracket height. In the middle, well, that’s the best of both worlds.
The Tuning Chip can easily be switched at home with just a few tools and this simple guide. All parts can be replaced if needed.
What Parts Make up the Tuning Chip System?
|
Part # |
Part Name |
Torque |
|
1 |
Bike Frame |
- |
|
2 |
Left Dropout with Disc Brake Caliper Mount |
- |
|
3 |
Right Dropout with Derailleur Hanger |
- |
|
4 |
T-Nut |
- |
|
5 |
M6x16 with Captive Washer |
10 Nm |
|
6 |
Thru Axle |
12 Nm |
|
7 |
Dropout Nut |
20 Nm |
|
8 |
Tuning Chip - Forward or Back Position |
- |
|
9 |
Tuning Chip - Middle Position |
- |
A Simple Guide to Adjusting Your Tuning Chip
Tools needed:
- 5mm Hex Wrench
- 20mm Socket Wrench (We recommend the Wolf Tooth Pack Wrench and 20mm Socket Wrench Insert)
- 5mm Torque Wrench (must torque to 10 Nm and 12 Nm)
- 20mm Socket Torque Wrench (must torque to 20 Nm)
Tuning Chip Installation and Adjustment Instructions:
- Remove rear thru axle using a 5mm hex wrench, then remove rear wheel.
- Remove left and right dropout nuts using a 20mm socket (never use a cone wrench or adjustable wrench).
- Loosen M6 bolt on left dropout one full rotation only using 5mm hex wrench. Do not loosen this bolt more than one rotation, unless steps 4 and 5 are particularly difficult. If you have to loosen more, make sure to hold the T Nut so it sits in its intended slot behind the dropout.
- Remove both right and left Tuning Chip. Use a screwdriver to push from the back if needed.
- Slide dropouts to new location and replace Tuning Chip in desired new position (or install new Tuning Chip if needed for desired position). Note that it will also be necessary to slide the brake hose and derailleur cable forward or back.
- Thread dropout nuts on by hand until snug, then tighten to 18-20 Nm using a torque wrench.
- Tighten dropout slider M6 bolt to 10 Nm using a torque wrench.
- Replace rear wheel and axle and tighten axle to 12 Nm using a torque wrench.
Notes:
Always adjust the rear derailleur B-screw after changing chip positions. Familiarize yourself with properly adjusting your rear derailleur using the manufacturer's user manual or by bringing your bicycle to your local bike shop.
Chain length may also need to be adjusted when changing chip positions.
Rear Tire Size Compatibility Charts for each Tuning Chip Position
Each Tuning Chip position affects the rear tire compatibility, so we've included this section to help determine which rubber you can safely pair with your Otso build. The further back your rear wheel sits, the wider the tire that will fit.
Regarding front tire compatibility, if using something other than the Voytek carbon fork on the Voytek, or the Lithic Carbon Fork on the Waheela C, Waheela S, or Warakin, please check with your fork manufacturer for their recommendations on maximum tire size.


Share:
#TWCC2020: This Week Contains Centuries
Warakin Ti and Warakin Stainless Pre-Order